Step 1: Give your computer a restart
Often, a straightforward restart can fix a lot of problems.
Restart your computer by selecting the power symbol from the Start menu, then selecting Restart.
Step 2: Seek Out Additional Updates
Make sure you install all available updates because occasionally they can resolve problems that earlier updates caused.
Access the Settings: To access the Settings app, press Win + I.
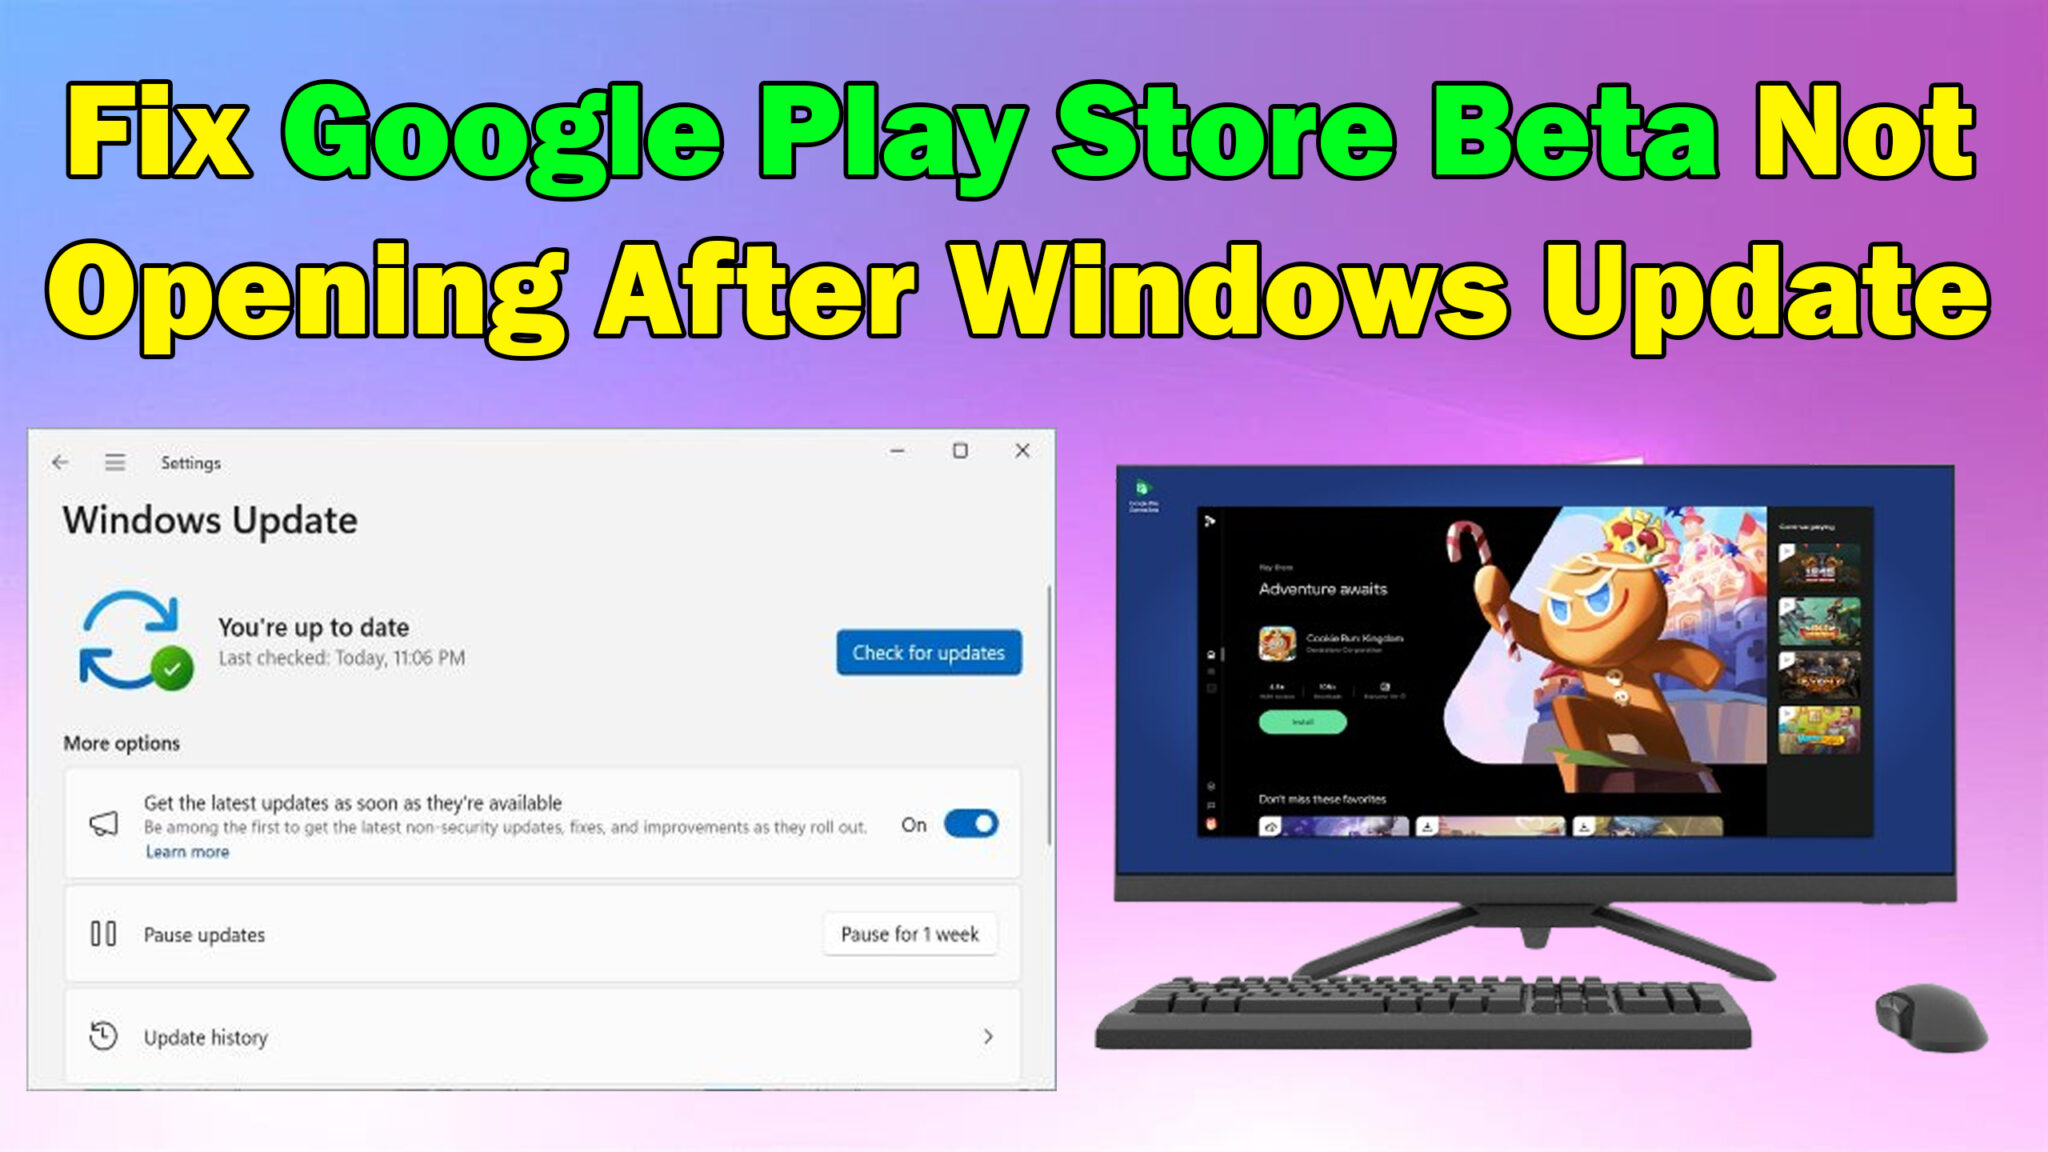
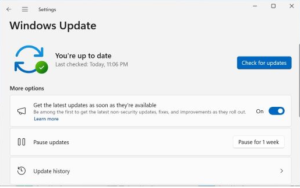
Update Windows: Click Check for updates after selecting Windows Update.
Step 3: Confirm the Android Windows Subsystem
Make sure the Android Windows Subsystem is updated and installed.
Launch the Microsoft Store: Type Microsoft Store using Win + S, then hit Enter.
Library: Press the symbol located in the lower-left corner.
Install any updates that are available for the Windows Subsystem for Android by clicking on the “Get Updates” button.
Step 5: Delete Data and Caches from the Google Play Store
Sometimes problems can be fixed by cleaning the Google Play Store’s cache and data.
Launch the Android Windows Subsystem. Settings: Type Windows Subsystem for Android into the search bar by pressing Win + S, then pick it.
Manage Apps: Locate the Google Play Store, select it, and delete all of its data and cache.
Step 6: Reinstall the Google Play Store Beta in step six.
The Google Play Store beta can be reinstalled to fix problems with corrupted files.
Remove the Google Play Store Beta: To access Windows Terminal (Admin), press Win + X. To remove, use the following command:
powershell
Copy the programming
Get-AppxPackage *Play* on Google Play Take-AppxPackage Out
Install again Beta version of the Google Play Store: Get the Google Play Store beta again by downloading it from the official website or by using the Windows Subsystem for Android settings.